
Getting Started
MACHINE OPPERATION
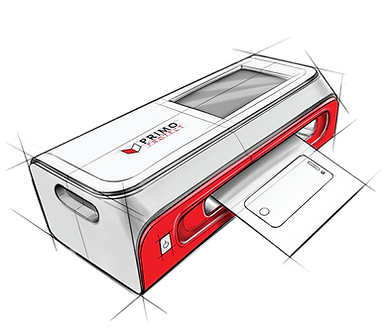

Appearance and Function


Instructions
1 | Installing The Blade Holder

2 | Power Connection, Starting Up

Please use an AC power supply rated for 100-240 volts. Connect the adapter and power cord, and plug the other end of the power cord into the AC power outlet. Connect the adapter's DC output line plug to the film cutter's input port. Ensure that the blade holder is securely installed in the correct position on the carriage head. Once the connection and installation are done, press the power button to activate the device.
3 | Screen Film Cutter Machine Operation
When using it for the first time, select "Set Network" to establish a Wi-Fi connection. Then, select"Settings" in the upper right and select "Language Settings" to change languages.

After the system starts normally, enter the homepapge and the device and brand you want to cut.

Next, select a model of phone. Then, you will have multiple option from case friendly to the back of the phone.

Next, select a model of phone. Then, you will have multiple option from case friendly to the back of the phone.

4 | Cutting Film
To ensure a proper cutting process, please prepare a protective film according to the image provided. Make sure the protective film is placed flat and that the film layer is intact without any bending, folding, or missing layers.

With automatic paper feeding: Push the protective film smoothly to the dotted area to let go.
5| Other
Please note that the content of the manual is subject to irregular revisions based on product upgrades, and it may differ from the actual product. Therefore, it is recommended to refer to the actual product for accurate information. We apologize for any inconvenience this may cause.


Once you have verified that the protective film is correctly positioned, proceed to the screen display and select the desired model of protective film (e.g., front case friendly). Then, simply click on "Start Cutting" to initiate the cutting process.
Once the cutting process is complete, the protective film will be automatically pushed out. Remove the protective film from the machine and apply it onto your device.


